Today's WWDC
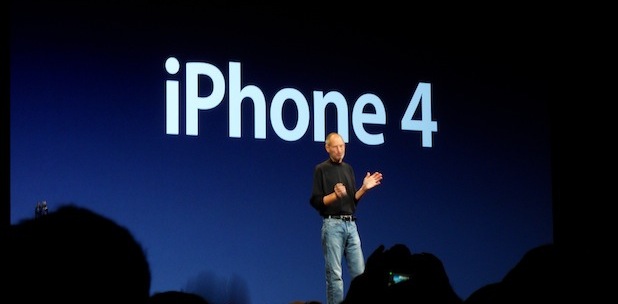
speech by Steve Jobs was in some ways, surprising. Despite a
veritable armful of rumors, Steve mainly talked about a handful of tech, with emphasis on the
new iPhone 4. So what did he leave out, and when may it come true anyway?
New Mac Minis

The Mac Mini is a much-beloved little computer, widely use as a home theater device and even as a server workhorse (due to its petite size and reasonable pricing). So why didn't Apple lavish any WWDC love on their smallest Mac? Strong rumors hinted at a big refresh with HDMI connectivity, after all.
Because the Mini is not a high profile world-beating device, like the iPhone or iPad, it's not high on Apple's priority list and simply isn't going to garner many headlines online or in the traditional press. Apple probably didn't want to water down the excitement about the iPhone 4 by announcing other new hardware. (Leaks have already muffled a bit of the thunder around the new iPhone as it is.)
When will we hear this news? Soon. We think it'll happen, and Apple will just slip out a special press release with some Jobs quotes and a splashy new Web page to advertise it.
HTML5, in the shadows
Jobs did mention HTML5 briefly during his address. But it was literally a mention in passing, and he didn't even play up the new promotional HTML5-ready Apple demo page. Instead Jobs noted HTML5 is one "platform" the company supports, an "open, uncontrolled platform that is forged and defined by standards alone." Apple is "fully behind" it, and its browsers are "in the lead" in supporting it. Apple's second platform is the "curated" iPhone OS (now iOS) for comparison.
Will Apple hit the news with HTML5? Possibly not in a special event, unless you're talking about a dedicated Jobs blog. Apple thinks its support for HTML5 is now self-sustaining in terms of news and media coverage, and probably didn't want to bring any hint of the Apple versus Adobe "war" into the Apple WWDC event.
iTunes in the cloud
Not a peep about iTunes during Steve's speech, which may be a surprise to some who were expecting news about a move to cloud-based storage and content streaming (possibly using tech from Lala, the streaming music platform that
Apple recently acquired). The only mention of iTunes is in the new iPhone's specs page on Apple.com, where it's noted the device needs "iTunes 9.2" whereas the current version is 9.1.1.
Will iTunes 9.2 have cloud elements? We don't know. It'll have to ship before the new iPhone 4 goes on sale on June 24th, so it has to happen soon. We suspect a cloud-based iTunes would be a big enough revelation that Jobs would mention it in a big event so it won't appear in June. But it may merit a special "Come Feel Music's Future in the Air" Apple-style special event later this year.
MacBook Air revisions
Intel's got new silicon on the way that'll give Mac's slenderest model a big boost, and it's a premium piece of tech for Apple--they'll definitely support it through a basic spec upgrade.
When will the Air laptop get some love? Soon. Probably on a Tuesday, Apple's traditional new hardware launch day, as a minor mention in a press release.
External trackpad, the "Magic Slate"?
Many folk will have been saddened to not see this announced today--it's a device that'll surely sell by the boatload, thanks to Apple's marketing and impressive lead in multitouch technology. But the rumors about it today did reveal the "leaked" hardware had a copyright sign from 2009, so they may have been of a prototype, rather than shipping hardware.
When will the Slate go on sale? Sometime this year, we hope. If it does, we're guessing around October, a year after the Magic Mouse came out, as the two peripherals are kinda complementary.
Safari 5, OS X 10.6.4
Kinda surprising that these two "flagship" pieces of code didn't get much of a mention at Apple's developer conference. But maybe Apple's already supremely confident in its software offerings and doesn't feel the need to advertise
single-point code updates. And don't forget Apple will be revealing more stuff to developers throughout this week's WWDC sessions.
Maybe Safari 5 and the new OS X tweak will get a proper "private" reveal to devs this week and a quiet launch soon.
UPDATE: In an email sent hours after the keynote, Apple announced the release of Safari 5 today.
Free MobileMe
Hmmm. We're scratching our heads on this one, as a free user level in MobileMe would be such a powerful boost to the iPhone's already prodigious powers. Maybe Apple's not got all its code in order yet, as they've been too busy messing with iPhone 4s, iPads and new versions of OS X and Safari.
Will we see this? Yes, we think so. But possibly as a big mention during another hardware/software release later in the year.
iPhone 4's HD video output powers
So here's something you probably didn't know, as it's not surfaced yet online: One thing Steve didn't mention is that the
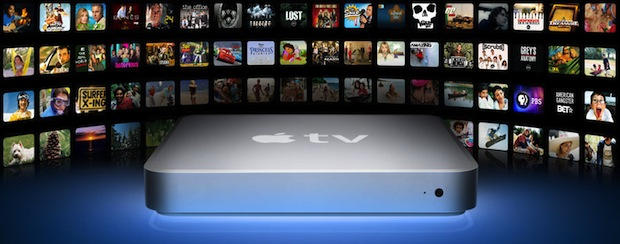
new iPhone outputs 720p-resolution video over a 30-pin to VGA connector cable, meaning it can drive your HDTV with HD-quality video. That beats the existing standard-def resolution, and almost rivals the existing Apple TV's powers.
Does this hint at a 1080p-capable
Apple TV revamp? Very possibly, if you apply some twisty logic about why Apple didn't highlight this power.
Source:
fastcompany.com 1:24 PM
 Reinhart
 Posted in